Publish/Share a List
When you publish a list you make the master version of the list available to more than one report. When any report uses a published list, then any change to the master list automatically gets applied. This technique is a great way to synchronize many reports the reflect the change made to one list.
To share a list
- Make a list. See (Lists)
- Click Pre-defined lists tab. Click Save/Share
- Name you list and click Publish list
- Click OK

In the above example we created a new list called: Shared List. We can now re-use this list in other reports such that any changes to the master list is automatically reflected in all reports that reference it.
To reference a published/shared list in another report
- Open/Create another DAS report
- Add and edit a List calculation
- Click Pre-defined lists tab. Click Load
- Select a list under the Published/shared list category (See Work with Your Lists)

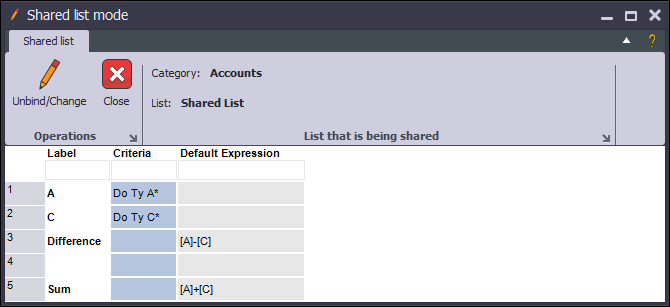
Notice differences in using a shared list:
- List Editor title shows: Shared list mode
- The list by default is read-only.
- The list menu is sparse: Unbind/Change, Close, and information about the Shared list
The shared list is read-only because any change to the list could have wide-reaching impact - i.e. any saved change to the published list will automatically apply to all reports bound to the list.
Note
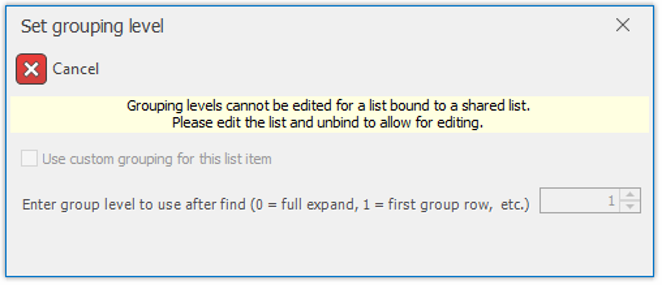
This also means that any adjustments made to the grouping level for the list will not be allowed in bound lists.
This is what you would see after selecting the 'Set Grouping Level for List Item' command from the group column context menu.

To edit a shared list
Double-click/Edit the list
Click Unbind/Change. This places the list into an editable mode
Edit the list
To apply changes for everyone, click Pre-defined lists tab. Click Save/Share (leave the name of the list the same and leave Publish list checked)
Click OK