Private Style Sheet Gallery
The ProReport Gallery allows storage of common report items for reuse between reports. Report items stored in the Private section of the Report Gallery are available to the current user only.
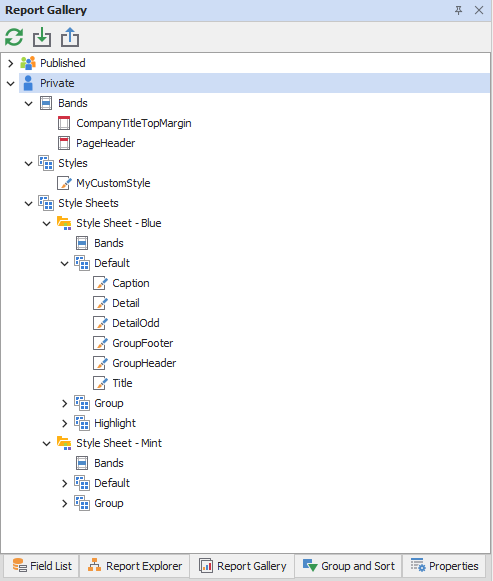
Bands, Styles, and Style sheets can be added to the Report Gallery.
Style Sheets
Style sheets are a combination of Bands and Styles that are applied to the entire report. Style Sheets get applied to those items that were generated using the Present to ProReport option.
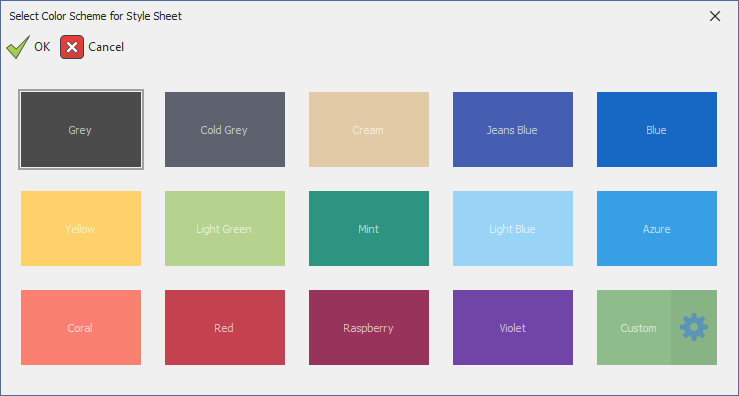
To create a new Style Sheet, Right + Click on the Style Sheets icon and select the Add Style Sheet option.

The Select Color Scheme for Style Sheet dialog is displayed, allowing you to select a starting color for the reports color scheme. To pick a specifc color, select the Custom option to display a color picker. Click the OK button to create the style sheet.
A new Style Sheet is created that can be used to set the entire style sheet of a report.
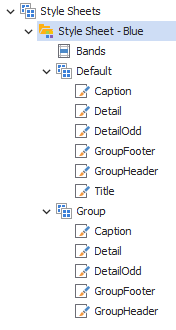
A style sheet will contain a 'Default' style folder along with an optional 'Bands' folder and other named style folders (a common one will be called 'Group'). The style folders contain style objects. The Bands folders contains bands.
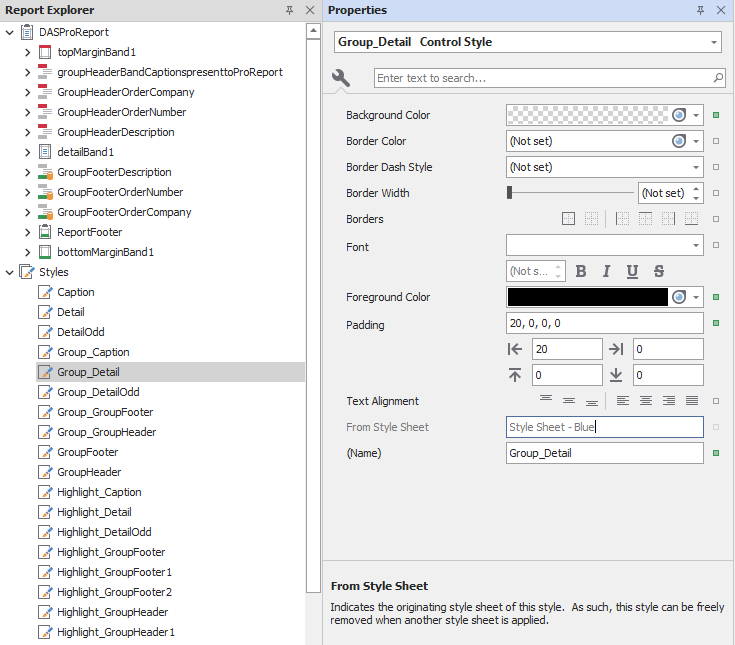
Styles from other folders will be added with the folder name as the prefix (ex. the 'Detail' style under 'Group' will be called 'Group_Detail' in the report). These styles are used for styling specific columns in a tabular report created using the Present to ProReport option. The most common use is properly indenting the grouping column of a grouped report. However, these folders can be used to create a highlighting column.
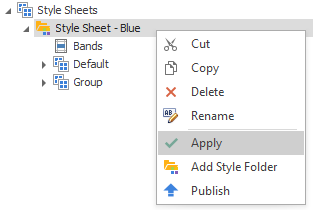
Apply Style Sheets
Style Sheets can be applied by selecting the desired Style Sheet in the Report Gallery, Right + Click and select the Apply option.
The Style Sheet will automatically get applied to those items that were generated using the Present to ProReport option. When a style sheet is applied, the styles in the 'Default' folder will be added to the report's style sheet as they are named in this folder. These styles are the common styles used for elements in the report. Styles from other folders will be added with the folder name as the prefix (ex. the 'Detail' style under 'Group' will be called 'Group_Detail' in the report.
Styles applied from a style sheet will indicate the style sheet name it came from.
Note
Styles in the report from a previous style sheet that do not exist in the new style sheet will be removed from the report. Styles created in the report outside of a style sheet application will be preserved.
If this is a tabular report created using the Present to ProReport option, the styles will be automatically assigned to elements of the report.
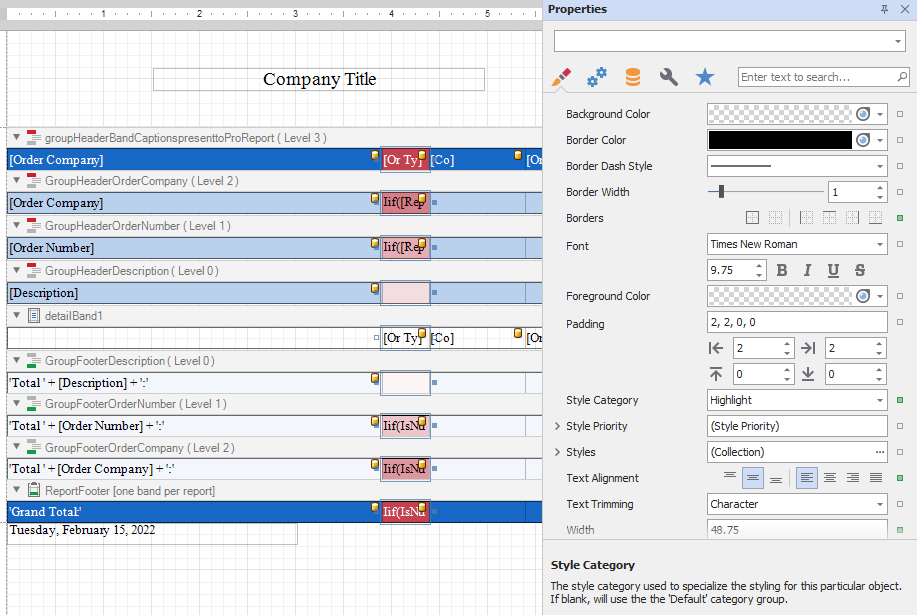
The default styles will be applied to all elements. Styles with a prefix name ('Group' or a user defined name) will be assigned to the controls with a matching style sheet category. The applied style a particular part of the report is displayed in the Properties Panel. A Generated Category property shows the type of category generated by the Present to ProReport feature.
Bands in the band group will applied automatically using the same method as the manual application of these bands described in this article.
Styles
The Styles section of the Report Gallery contains previously existing styles that have been added from the Report Explorer. Styles added here are available for use with other ProReports.
Add a Style from the Report Explorer
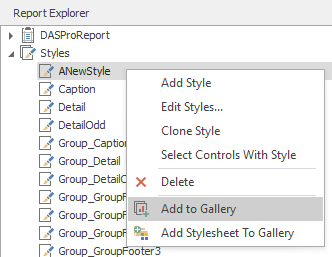
Navigate to the Report Explorer property panel. Find the Styles section and select the style to be added. Right + Click and select the Add to Gallery option.
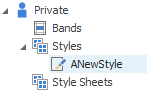
The new style is added to the Style section of the Report Gallery.
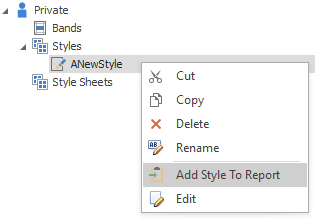
Add a Style from the Report Gallery to the Report Explorer
When a style exists in the Report Gallery, it can be added to a new ProReport. Styles added to a ProReport show in the Styles section of the Report Explorer property panel.
To add a style from the Report Gallery to the Report Explorer, navigate to the style in the Report Gallery, Right + Click and seletion the option to Add Style to Report. The style will then show up in the Styles section of the ProReport's Report Explorer property panel.
Once the style is added to the report, you can then use drag & drop operations to apply a Style to a report item.
Apply a Style to a Report Item
To apply a style in the Styles section of the Report Gallery, select the desired style and drag it to the desired control on the Design Panel and drop the new style on. The new style will show on the report control.
Bands
The Report Gallery's Bands category contains band templates.
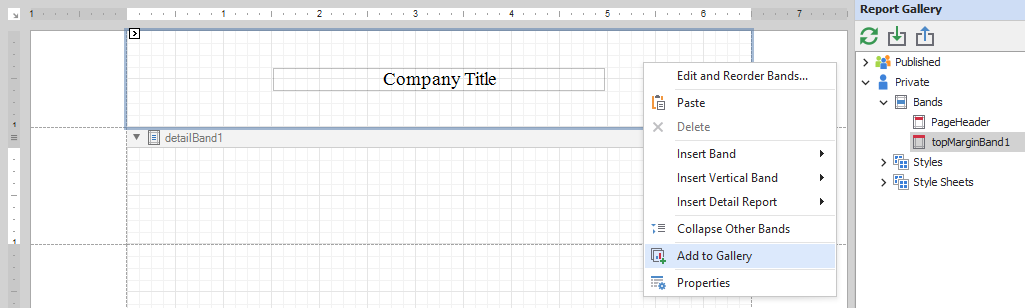
To create a new template, Right + Click a report band and choose Add To Gallery in the context menu. The band’s Name property value defines the template name.
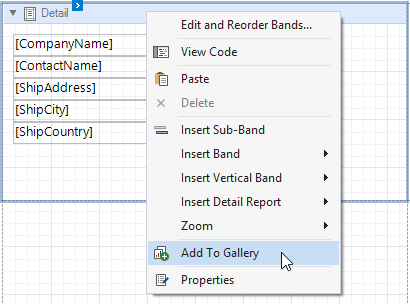
In this example, a label has been added to the Top Margin Band. Right + Click in the Top Margin Band and select Add to Gallery. The band will be added to the Bands section of the of the Report Gallery. To rename the band, Right + Click and select Rename.
Note
Only Report Header, Group Header, Group Footer, Page Header, Page Footer, and Margin Bands can be added to the Report Gallery.
Apply Bands
Bands can be applied by dragging the desired band from the Report Gallery to the corresponding band in the ProReport design panel. The target band's contents will be replaced with the contents of the incoming band.
Apply a Band Template
Use the following ways to apply a band template:
Drag and Drop Band
Drag and drop the template from the Report Gallery onto the band of the same type to replace the band’s content.

To create a new band, move the mouse cursor to the delimiter between bands and drop the template.

Note
You can add the Report Header/Footer or Page Header/Footer only if the report does not already contain this band.
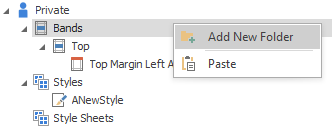
Create Folders in the Report Gallery
Items in the Report Gallery can be organized into folders. Right + Click on the desired section, ex Bands, and select the Add New Folder. Items can then be dragged to the appropriate folders. In this example, a folder called Top was created and a Top Margin Band placed in the folder.
Cut / Copy / Paste Report Gallery Items
Items in the Report Gallery can be copied and pasted from one section of the gallery to another. In the Report Gallery select the desired item to copy or the location to paste to and Right + Click and select either the Copy, Cut or Paste option.
Note
In addition to copying and pasting using the context menu, a gallery item can be copied by dragging and dropping the item while pressing the Ctrl key.
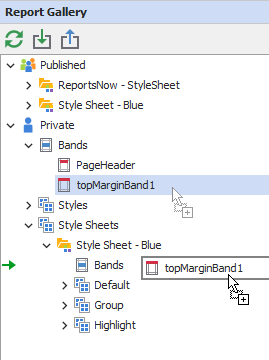
Drag and Drop
If a control exists in the Private Gallery, it can be added to a Style Sheet. Click the control in the Private Gallery and then Drag and Drop the control to the desired category in the new Style Sheet. This will move the item from the drag location to the drop location.
Rename Report Gallery Items
Items in the Report Gallery can be renamed. In the Report Gallery select the desired item to rename, Right + Click and select the Rename option. Give the item a new name.
Publish a Style Sheet to the Public Gallery
For more information on how to apply, publish, unpublish, and make a Style Sheet the default, see Public Gallery.
The first published Style Sheet is the default Style Sheet that is used when the report is generated.
Sync Gallery
Click the Sync Gallery button to retrieve the latest gallery from the server. The last gallery update for the user will replace the contents of the current private gallery.
Import Gallery
Click the Import Gallery button to import a Private Gallery from file. The entire Private Gallery will be replaced.
Export Gallery
Click the Export Gallery button to export the Private Gallery to file.